Arduino quickstart
Install arduino-cli, install the AVR core, plug in a Nano, flash a sketch. Twenty minutes if the USB driver cooperates.
Published
If you’ve already flashed an Arduino, this isn’t for you. This is the page I’d send my neighbor when they ask “I bought an Arduino, now what?” — a quick tour of how I get from a sealed bag to a working blink sketch, with links out to the official Arduino docs whenever you want more depth.
I do this from a MacBook for most projects, and from an Ubuntu desktop for some. The OS picker at the top of this page flips the commands across the whole guide — pick yours and the right snippets will show. Windows works for most of this too, but I haven’t personally tested it, so I’ll point at the official docs where it matters.
A note on the IDE vs the CLI: Arduino has a desktop IDE. It’s fine. But I use arduino-cli — same toolchain, scriptable, lives in my terminal next to everything else. If you’d rather use the IDE, the official getting-started guide covers it. The rest of this page is the CLI path.
What you’ll need
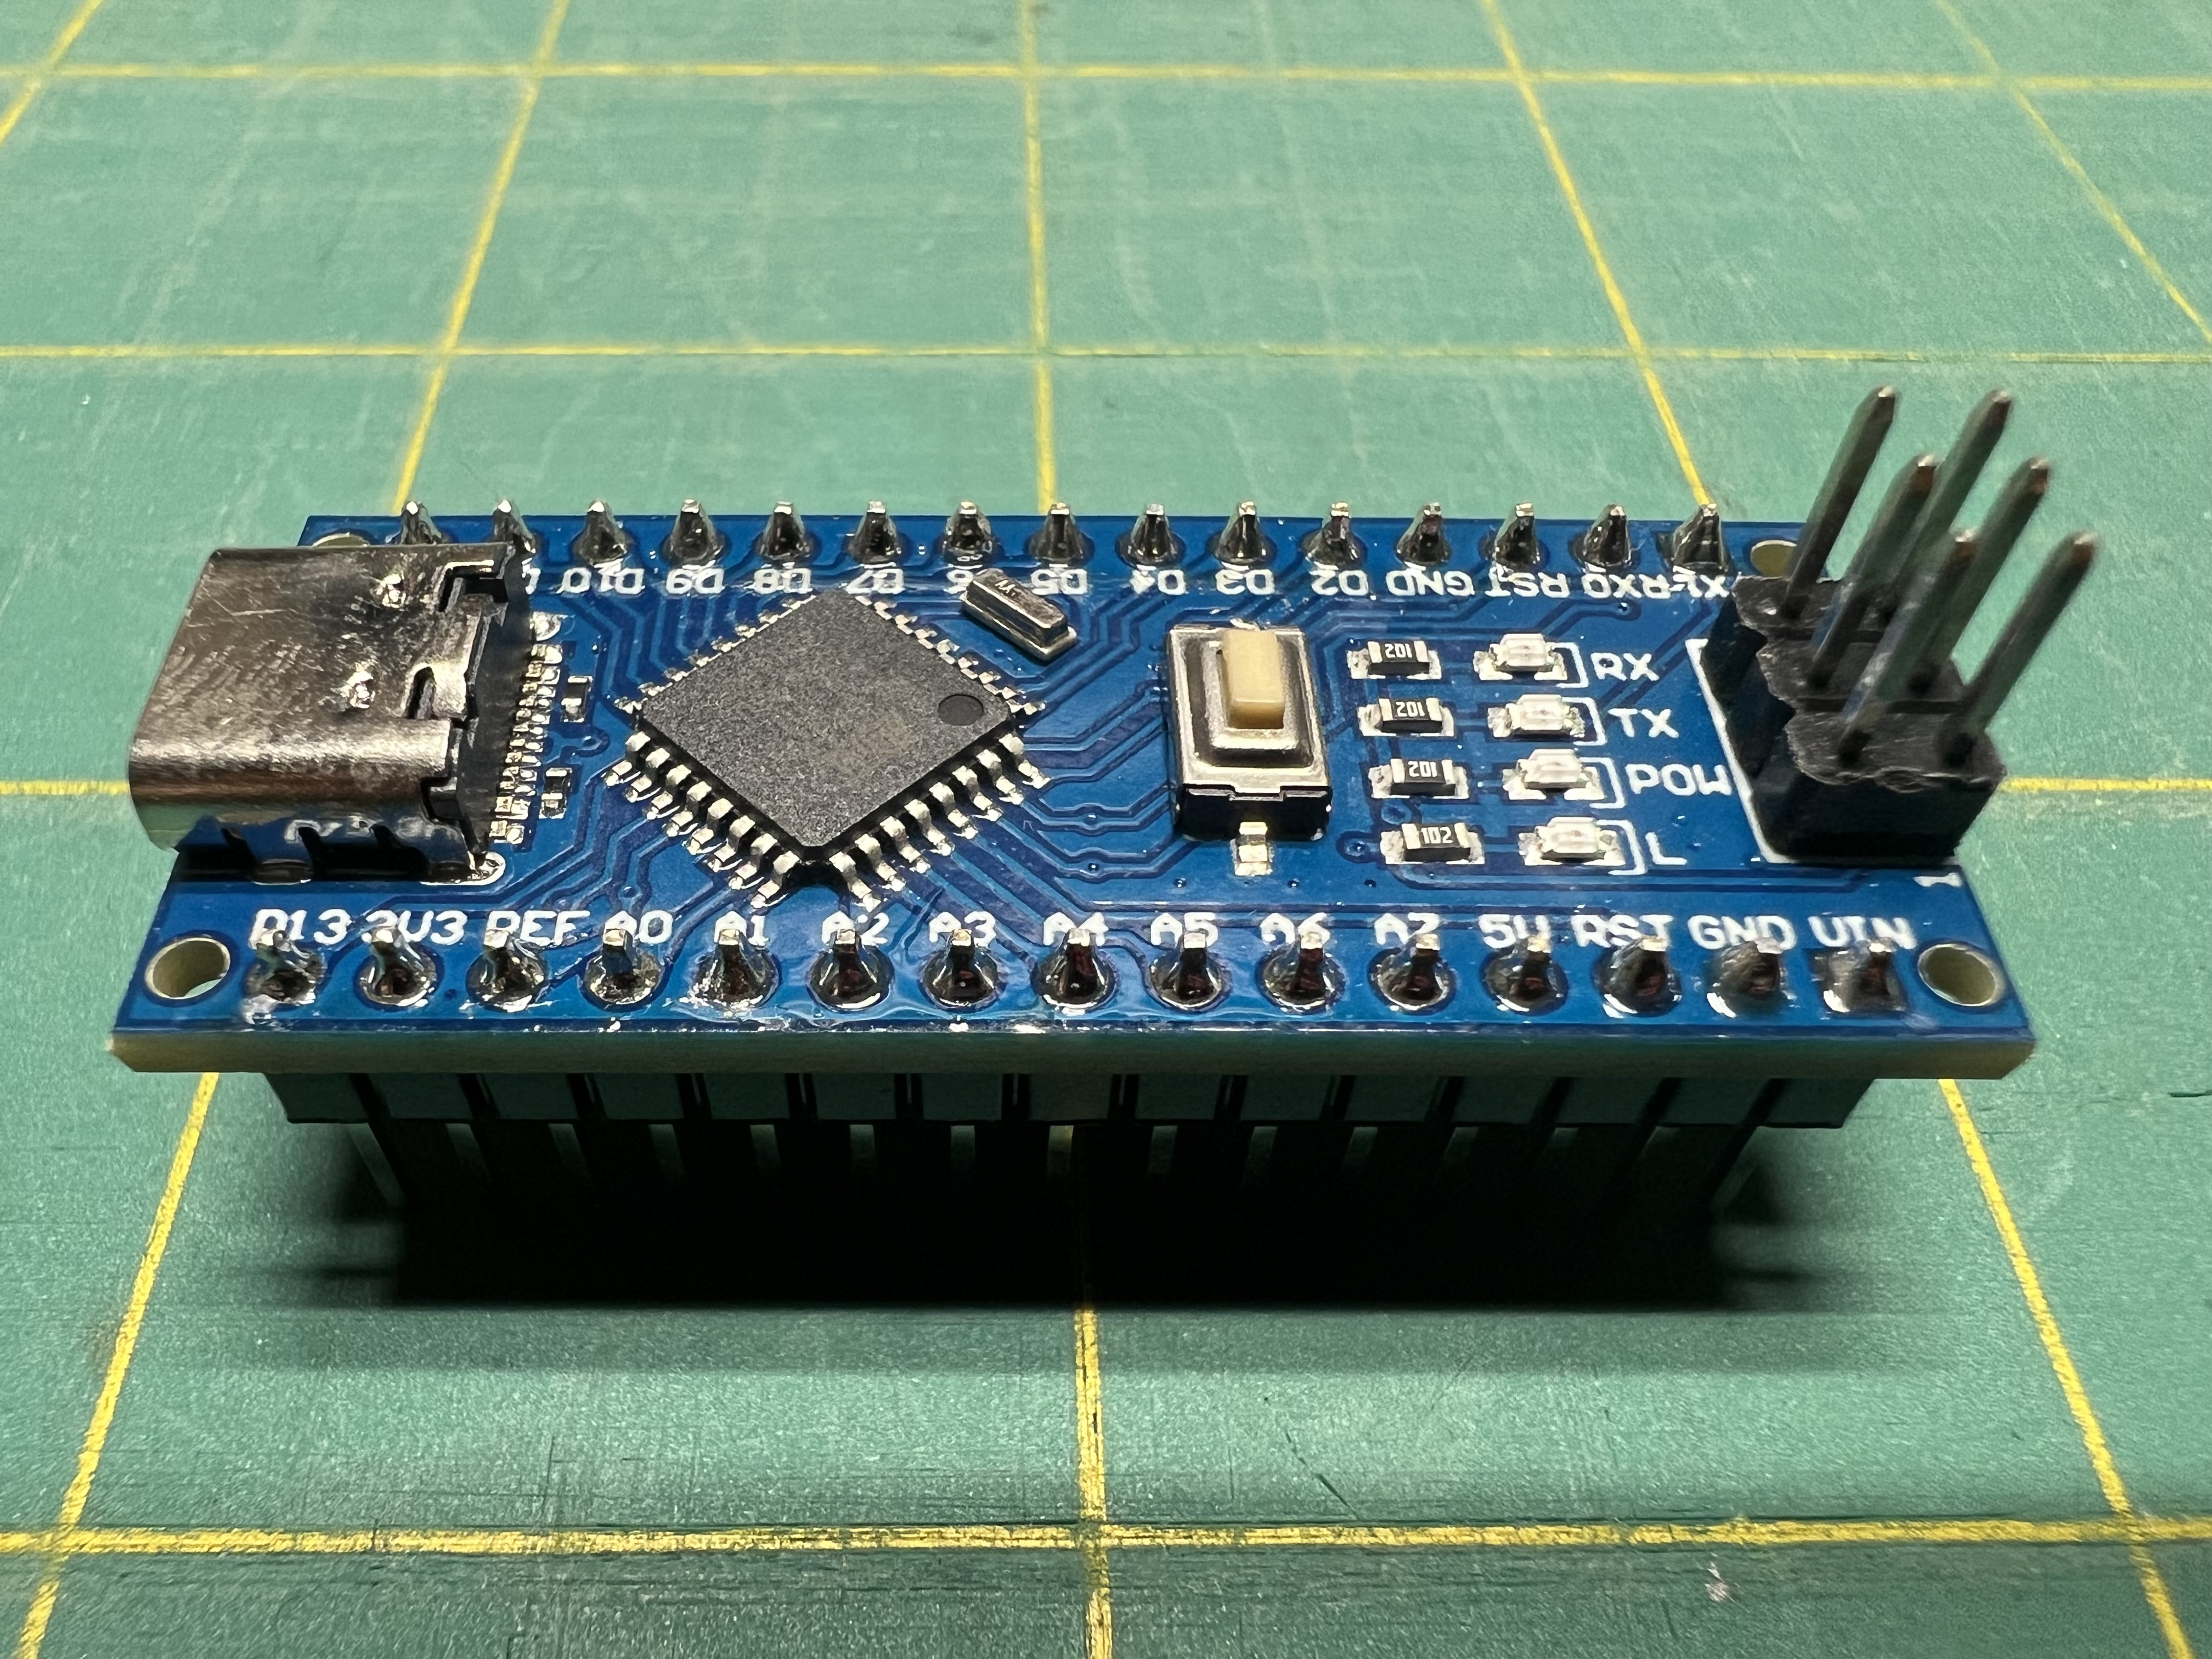
- An Arduino Nano. Most of what’s on this page works on any Arduino, but I’ll use the Nano because it’s what’s on my workbench. Genuine Nanos are great. The cheap CH340-based clones (look for “USB-C Nano” on Amazon) work too, with a small driver caveat — see below.
- A USB cable that matches your Nano. Older Nanos use mini-USB, modern clones use USB-C. Make sure it’s a data cable, not a charge-only cable — this catches more people than you’d think.
- A computer with a USB port.
- An LED and a 220Ω resistor if you want to follow along with a “blink” beyond the built-in LED. Optional.
1. Install arduino-cli
brew install arduino-cliThe cleanest install on Ubuntu is via the official one-line installer:
curl -fsSL https://raw.githubusercontent.com/arduino/arduino-cli/master/install.sh | sh
sudo mv bin/arduino-cli /usr/local/bin/
(Or brew install arduino-cli if you have Homebrew on Linux.)
Two good options:
- Scoop (recommended if you already have it):
scoop install arduino-cli - Manual install: download the
.zipfrom the arduino-cli releases page and add the binary to your PATH.
The official install instructions are at arduino.github.io/arduino-cli/installation.
Verify it’s installed:
arduino-cli version2. Install the AVR board core
The Nano (and most classic Arduinos) uses an AVR microcontroller. You need to install Arduino’s AVR core so arduino-cli knows how to talk to it:
arduino-cli core update-index
arduino-cli core install arduino:avr
That’s a one-time setup per machine.
3. Plug in the Nano and find its port
Plug your Nano in. Your computer should see it as a serial device. To list connected boards:
arduino-cli board listYou should see something like:
Port                  Protocol Type           Board Name           FQBN              Core
/dev/cu.usbserial-210 serial   Serial Port    Unknown              <none>            <none>
arduino-cli doesn’t always identify clone Nanos by name (the “Unknown” above is normal for CH340-based boards). The port path is what matters. On my Mac it’s usually /dev/cu.usbserial-XXX; on Linux it’s /dev/ttyUSB0 or similar; on Windows it’s a COMx number.
CH340 driver gotcha
Most cheap “USB-C Nano” clones use a CH340 USB-to-serial chip instead of the official FTDI / ATmega16u2. Modern macOS, recent Ubuntu, and Windows 10/11 all ship with CH340 support out of the box now — but if arduino-cli board list shows nothing when your Nano is plugged in, the driver is the first thing to suspect.
If the port doesn’t appear, install the WCH CH34x driver (the manufacturer’s official package) and reboot. macOS Sonoma and later usually don’t need this.
On Ubuntu, CH340 is built into the kernel — but your user needs to be in the dialout group to access serial devices without sudo:
sudo usermod -a -G dialout $USER
# then log out and back inWindows 10/11 should auto-install the CH340 driver on first plug. If it doesn’t appear in Device Manager, grab the driver from WCH.
4. Compile and upload your first sketch
Make a tiny project to test the toolchain end-to-end. Anywhere you like:
mkdir -p ~/arduino-test/blink
cd ~/arduino-test
arduino-cli sketch new blink
That creates blink/blink.ino with a stub. Open it in your editor and replace the contents with the classic blink:
void setup() {
  pinMode(LED_BUILTIN, OUTPUT);
}

void loop() {
  digitalWrite(LED_BUILTIN, HIGH);
  delay(500);
  digitalWrite(LED_BUILTIN, LOW);
  delay(500);
}
Compile it:
arduino-cli compile --fqbn arduino:avr:nano blink--fqbn is the “Fully Qualified Board Name”. For a standard Nano it’s arduino:avr:nano.
The “Old Bootloader” gotcha
Most cheap Nano clones — and a surprising number of new genuine ones — ship with the old (ATmegaBOOT) bootloader. If your upload fails with avrdude: stk500_recv(): programmer is not responding, that’s the symptom. Switch the FQBN to the old-bootloader variant:
arduino-cli compile --fqbn arduino:avr:nano:cpu=atmega328old blinkThen upload (replace the port with whatever board list showed):
arduino-cli upload -p /dev/cu.usbserial-210 --fqbn arduino:avr:nano:cpu=atmega328old blinkarduino-cli upload -p /dev/ttyUSB0 --fqbn arduino:avr:nano:cpu=atmega328old blinkarduino-cli upload -p COM3 --fqbn arduino:avr:nano:cpu=atmega328old blink(Replace COM3 with whatever port shows in arduino-cli board list.)
If everything’s wired up right, the LED on the Nano will start blinking. That’s your hello-world.
Pick an editor
You’ll be editing .ino files on your computer (not on the Arduino itself — there’s no OS on the Arduino). What I use:
- VS Code — my daily driver. The Arduino extension gives you autocomplete and inline build. Or just use it as a text editor and let
arduino-clihandle compilation. - The official Arduino IDE — fine, especially if you want one-click upload and the built-in serial monitor. Free download at arduino.cc/en/software.
nanoorvim— totally fine for small sketches. The.inois just C++.
For monitoring serial output (what the Arduino prints with Serial.println(...)):
arduino-cli monitor -p <your-port>Pair with an LLM (it actually helps)
Arduino code is C++ that runs on a tiny microcontroller, which means the error messages can be cryptic and the constraints (no printf debugging out of the box, limited RAM, tight timing) are unfamiliar. LLMs are great at translating between “what I want to happen” and “what the chip can actually do.”
I use Claude for sketch-level questions and Claude Code for project-level work — it can edit .ino files, run arduino-cli commands, and walk you through wiring decisions. Treat it like a smart collaborator that’s occasionally wrong, especially on hardware specifics, and verify wiring against the datasheet before powering anything up.
What’s next
- Try a project: Nano theremin — ultrasonic distance sensor controlling a piezo buzzer. Good first build.
- Read the official Arduino getting-started guide — covers the IDE path, more boards, and the basics in more depth
- Browse the arduino-cli docs for the full command surface
Official references
- Arduino documentation — first stop for anything Arduino
- arduino-cli reference — the CLI I use day to day
- Arduino forum — searchable, helpful for board-specific quirks
Raw markdown for LLMs: /guides/arduino.md · full index